The time has come! Start your first guitar lesson and let the journey begin.
BEGINNER ACOUSTIC GUITAR LESSON 4
GUITAR STRING TUNING 101
Tuning a guitar is simple, but at first, it's not easy. If you think you should be able to just hear the notes and figure it out, think again. Everyone needs help to tune accurately, even the pros.
There are a few ways to go about tuning your guitar, but they really break down into two basic ways — with an electronic tuner or by ear. We've covered them all below, but for most players, the first method "Using an Electronic Tuner" is the better answer. It's very simple, requires no experience, and is certainly the most accurate.
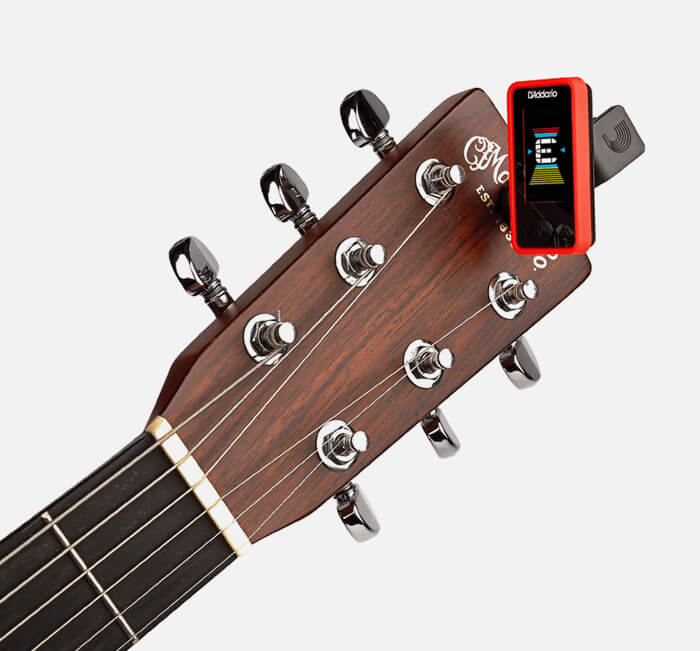
USE AN ELECTRONIC TUNER
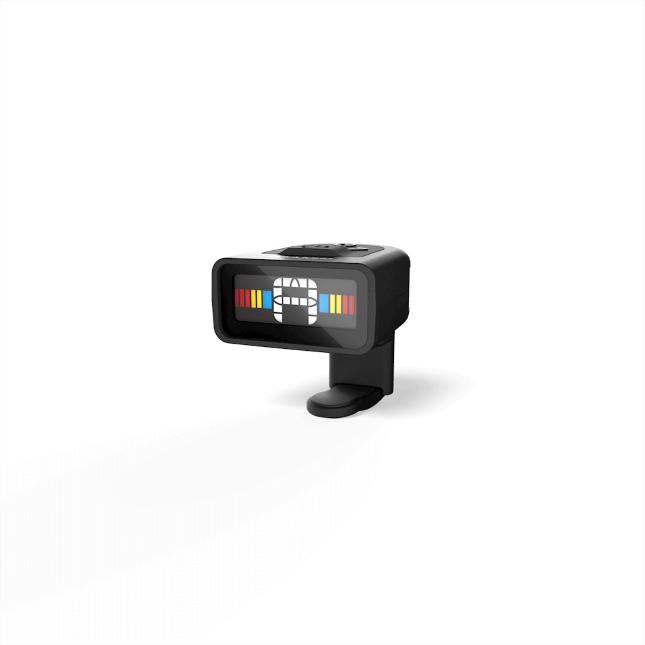
Nowadays tuning is as easy as clamping a clip-on tuner to your headstock or plugging your guitar in. As you may have noticed, those are the major types of tuners. With clip-on tuners, you merely have to attach the tuner to your headstock in a convenient place, turn it on, and play each string. The tuner will guide you with a meter or lights, which direct the way you need to turn your tuning peg, and alert you when you're in tune.
Functionally, plug-in tuners work the same way. The difference is you plug your guitar into the tuner with a 1⁄4 inch cable instead of clipping it on. Some electronic tuners also function with a microphone, so you don't necessarily need a cable — you just play near the built-in mic. You can probably find an app on your phone that functions this way also.
However, microphones in tuners and apps may not always be the most accurate.
A better option for a plug-in tuner comes in the form of a pedal, so you can adhere it to your pedalboard and make it part of your signal chain. These types of tuners are highly accurate and great for gigs.
TUNE BY EAR
This method is commonly used by guitarists on-the-fly, when there is no electronic tuner to be had. The most ideal way to tune by ear is to use another instrument or tool which you know is in tune. If there is a piano, another guitar, or any other instrument, you can use your ear to match the notes.
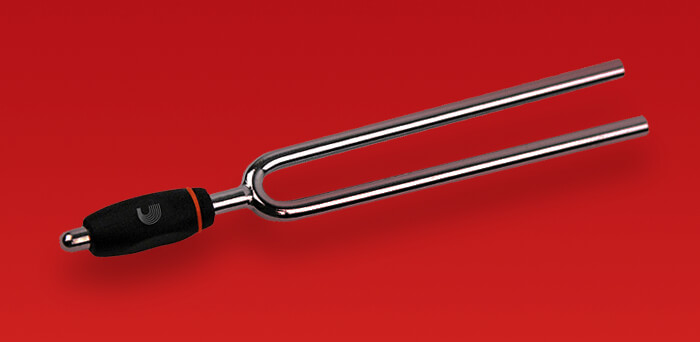
Another other option is to use a tuning fork — a metal tool which when struck against something produces a specific tone, like A or E.
You can even get an app or find a website that will play the correct tone of the guitar strings. Of course, this is not the easiest method of tuning, but it does work with a little practice.
If push comes to shove and you really have nothing to work with, you can always tune your guitar strings relative to each other. In this case, you tune each string by finding the equivalent note on the string adjacent to it. If you play the 5th fret note on every string, with the exception of the G string where you play the 4th fret, the tone is equivalent to the open string above it.
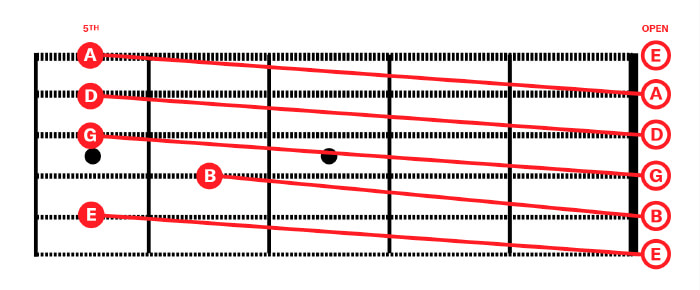
For example, playing the 5th fret on the 6th string (low E) gives you an A, which is the same note as the open 5th string. So, you can use the sound of the 5th fret on the 6th string to help you tune the 5th string. This works until you get to the 3rd string, G, where you play the 4th fret to get the note B, which is the correct pitch for the 2nd string. You can then go back to using the 5th fret on the B String to get the open 1st string E note and finish this tuning process.
The big problem with this, and thus why it's a last resort, is that you're only tuning each string relative to the next. So, if you start out with a string that's not in tune (usually high or low E), all the strings wind up in tune only relative to each other, but not actually at the correct pitch.
Tuning is perhaps the most important thing to learn and the most integral habit to keep. Do your best to keep an accurate electronic tuner on hand, but feel free to practice using any of the methods of tuning by ear, for your own development and those sticky situations you hope you don't find yourself in!
NEXT LESSON
LESSON 5

COMING UP
LESSON 6

In this lesson, see how adding one finger to the Asus chord will give you A major. Plus, begin to learn the difference between major and minor sounds.
